iSTYLE Blogs

How to check battery health on MacBook?
Battery health = battery cycles Mac battery life is around 1000 charge cycles. To give you an idea, those 1000 charge cycles with regular use are 5 years of using...
How to check battery health on MacBook?
Battery health = battery cycles Mac battery life is around 1000 charge cycles. To give you an idea, those 1000 charge cycles with regular use are 5 years of using...

How to Install iOS 17 Beta?
There are numerous exciting new features that we will all be able to enjoy on our iPhones with iOS 17 starting from September. If you don't want to wait until...
How to Install iOS 17 Beta?
There are numerous exciting new features that we will all be able to enjoy on our iPhones with iOS 17 starting from September. If you don't want to wait until...

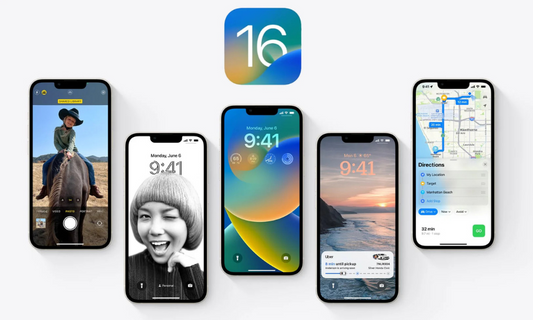
How to install iOS 16 Beta?
Apple launched its latest iOS 16 Update across Apple iPhones, and the iOS6 update will roll out in September on our iPhones. If you don't want to wait until September...
How to install iOS 16 Beta?
Apple launched its latest iOS 16 Update across Apple iPhones, and the iOS6 update will roll out in September on our iPhones. If you don't want to wait until September...

What to do if you see a liquid-detection alert ...
What is the iPhone Liquid-Detection Alert? "Liquid Detected in Lightning Connector" is a liquid-detection alert that is a warning displayed on your iPhone screen when moisture or liquid gets into...
What to do if you see a liquid-detection alert ...
What is the iPhone Liquid-Detection Alert? "Liquid Detected in Lightning Connector" is a liquid-detection alert that is a warning displayed on your iPhone screen when moisture or liquid gets into...

Battery Life Comparison: iPhone 12 vs iPhone 13...
So, let's look at how many mAh the iPhone 13 battery vs the iPhone 12. Battery Milliamps for new iPhone models: iPhone Model Battery milliamps iPhone 13 3227 mAh iPhone...
Battery Life Comparison: iPhone 12 vs iPhone 13...
So, let's look at how many mAh the iPhone 13 battery vs the iPhone 12. Battery Milliamps for new iPhone models: iPhone Model Battery milliamps iPhone 13 3227 mAh iPhone...

How to Get Live Wallpapers on Mac
Would you like to give movement to your Mac desktop? If so, we show you how to put a video as wallpaper on your Mac. It looks simply exquisite! Customizing...
How to Get Live Wallpapers on Mac
Would you like to give movement to your Mac desktop? If so, we show you how to put a video as wallpaper on your Mac. It looks simply exquisite! Customizing...

 United Arab Emirates
 Lebanon
 Iraq
Iraq